Glenwood Part II - Dining Room
I’m terrible at documenting! Other than a few cell phone images and an instagram story…
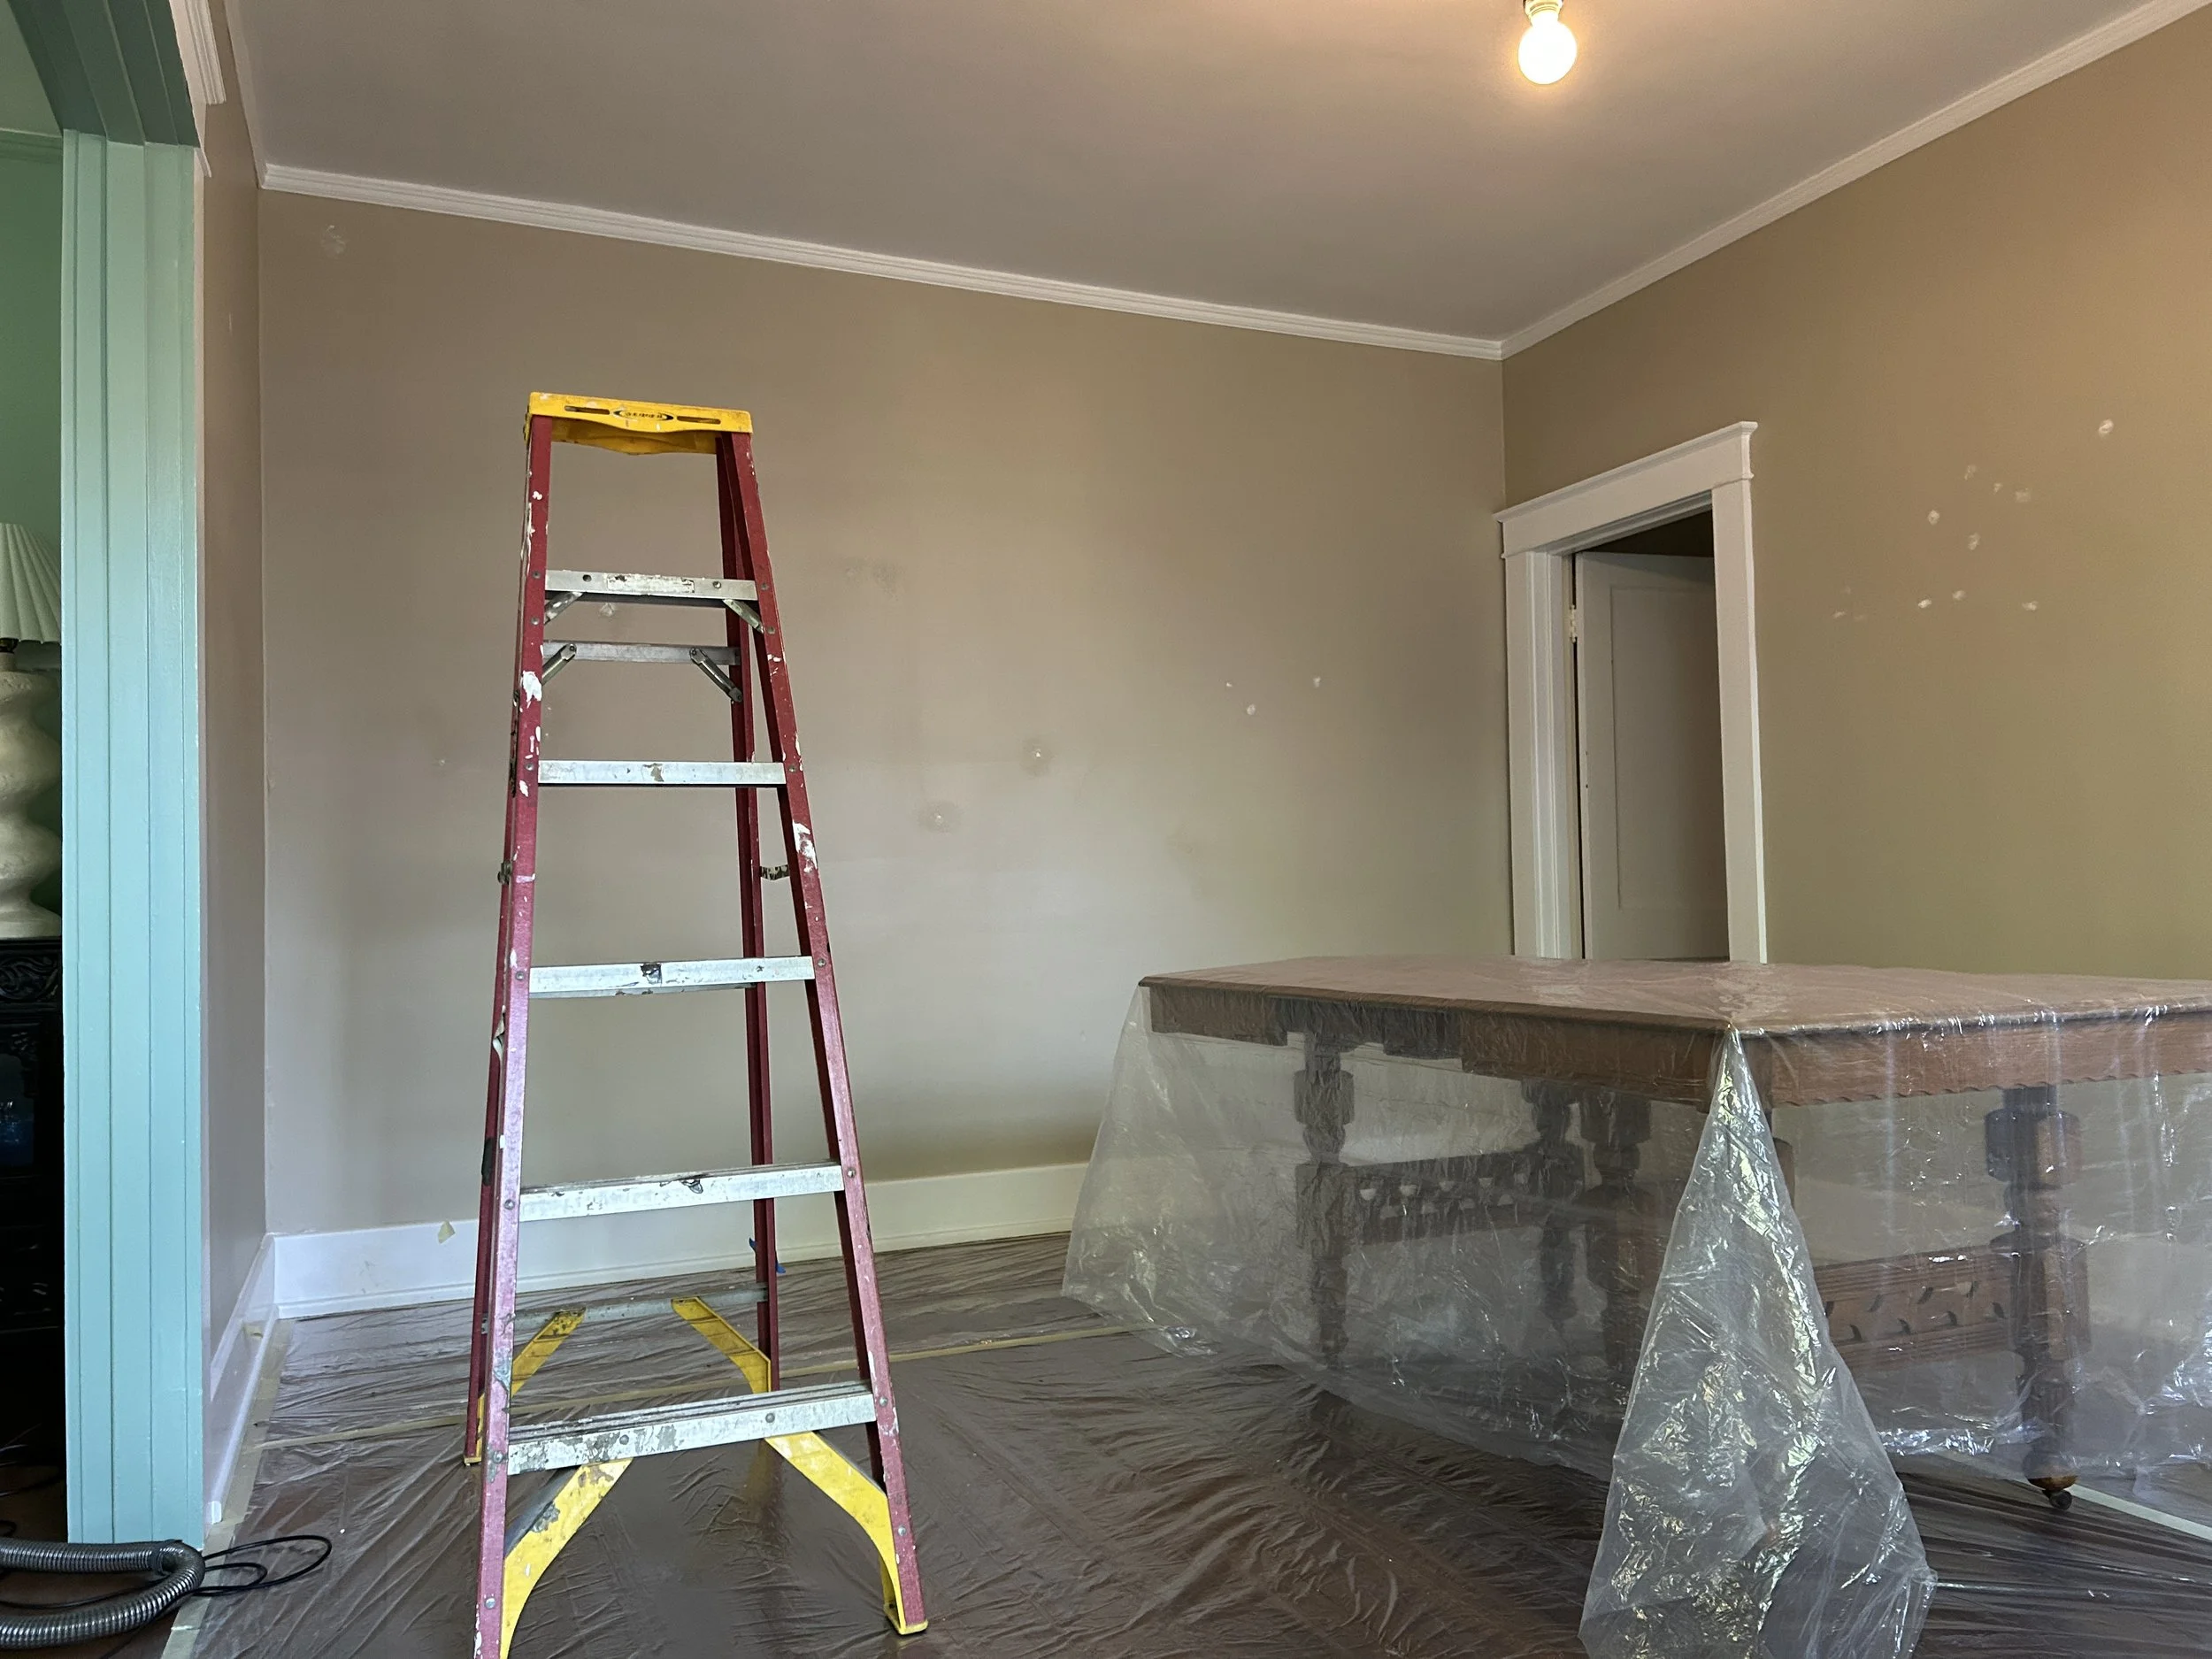

The dining room, like every other room in the house, was brown. Who chooses this?! I should take a chip to Home Depot and find out exactly what this vulgar color is.
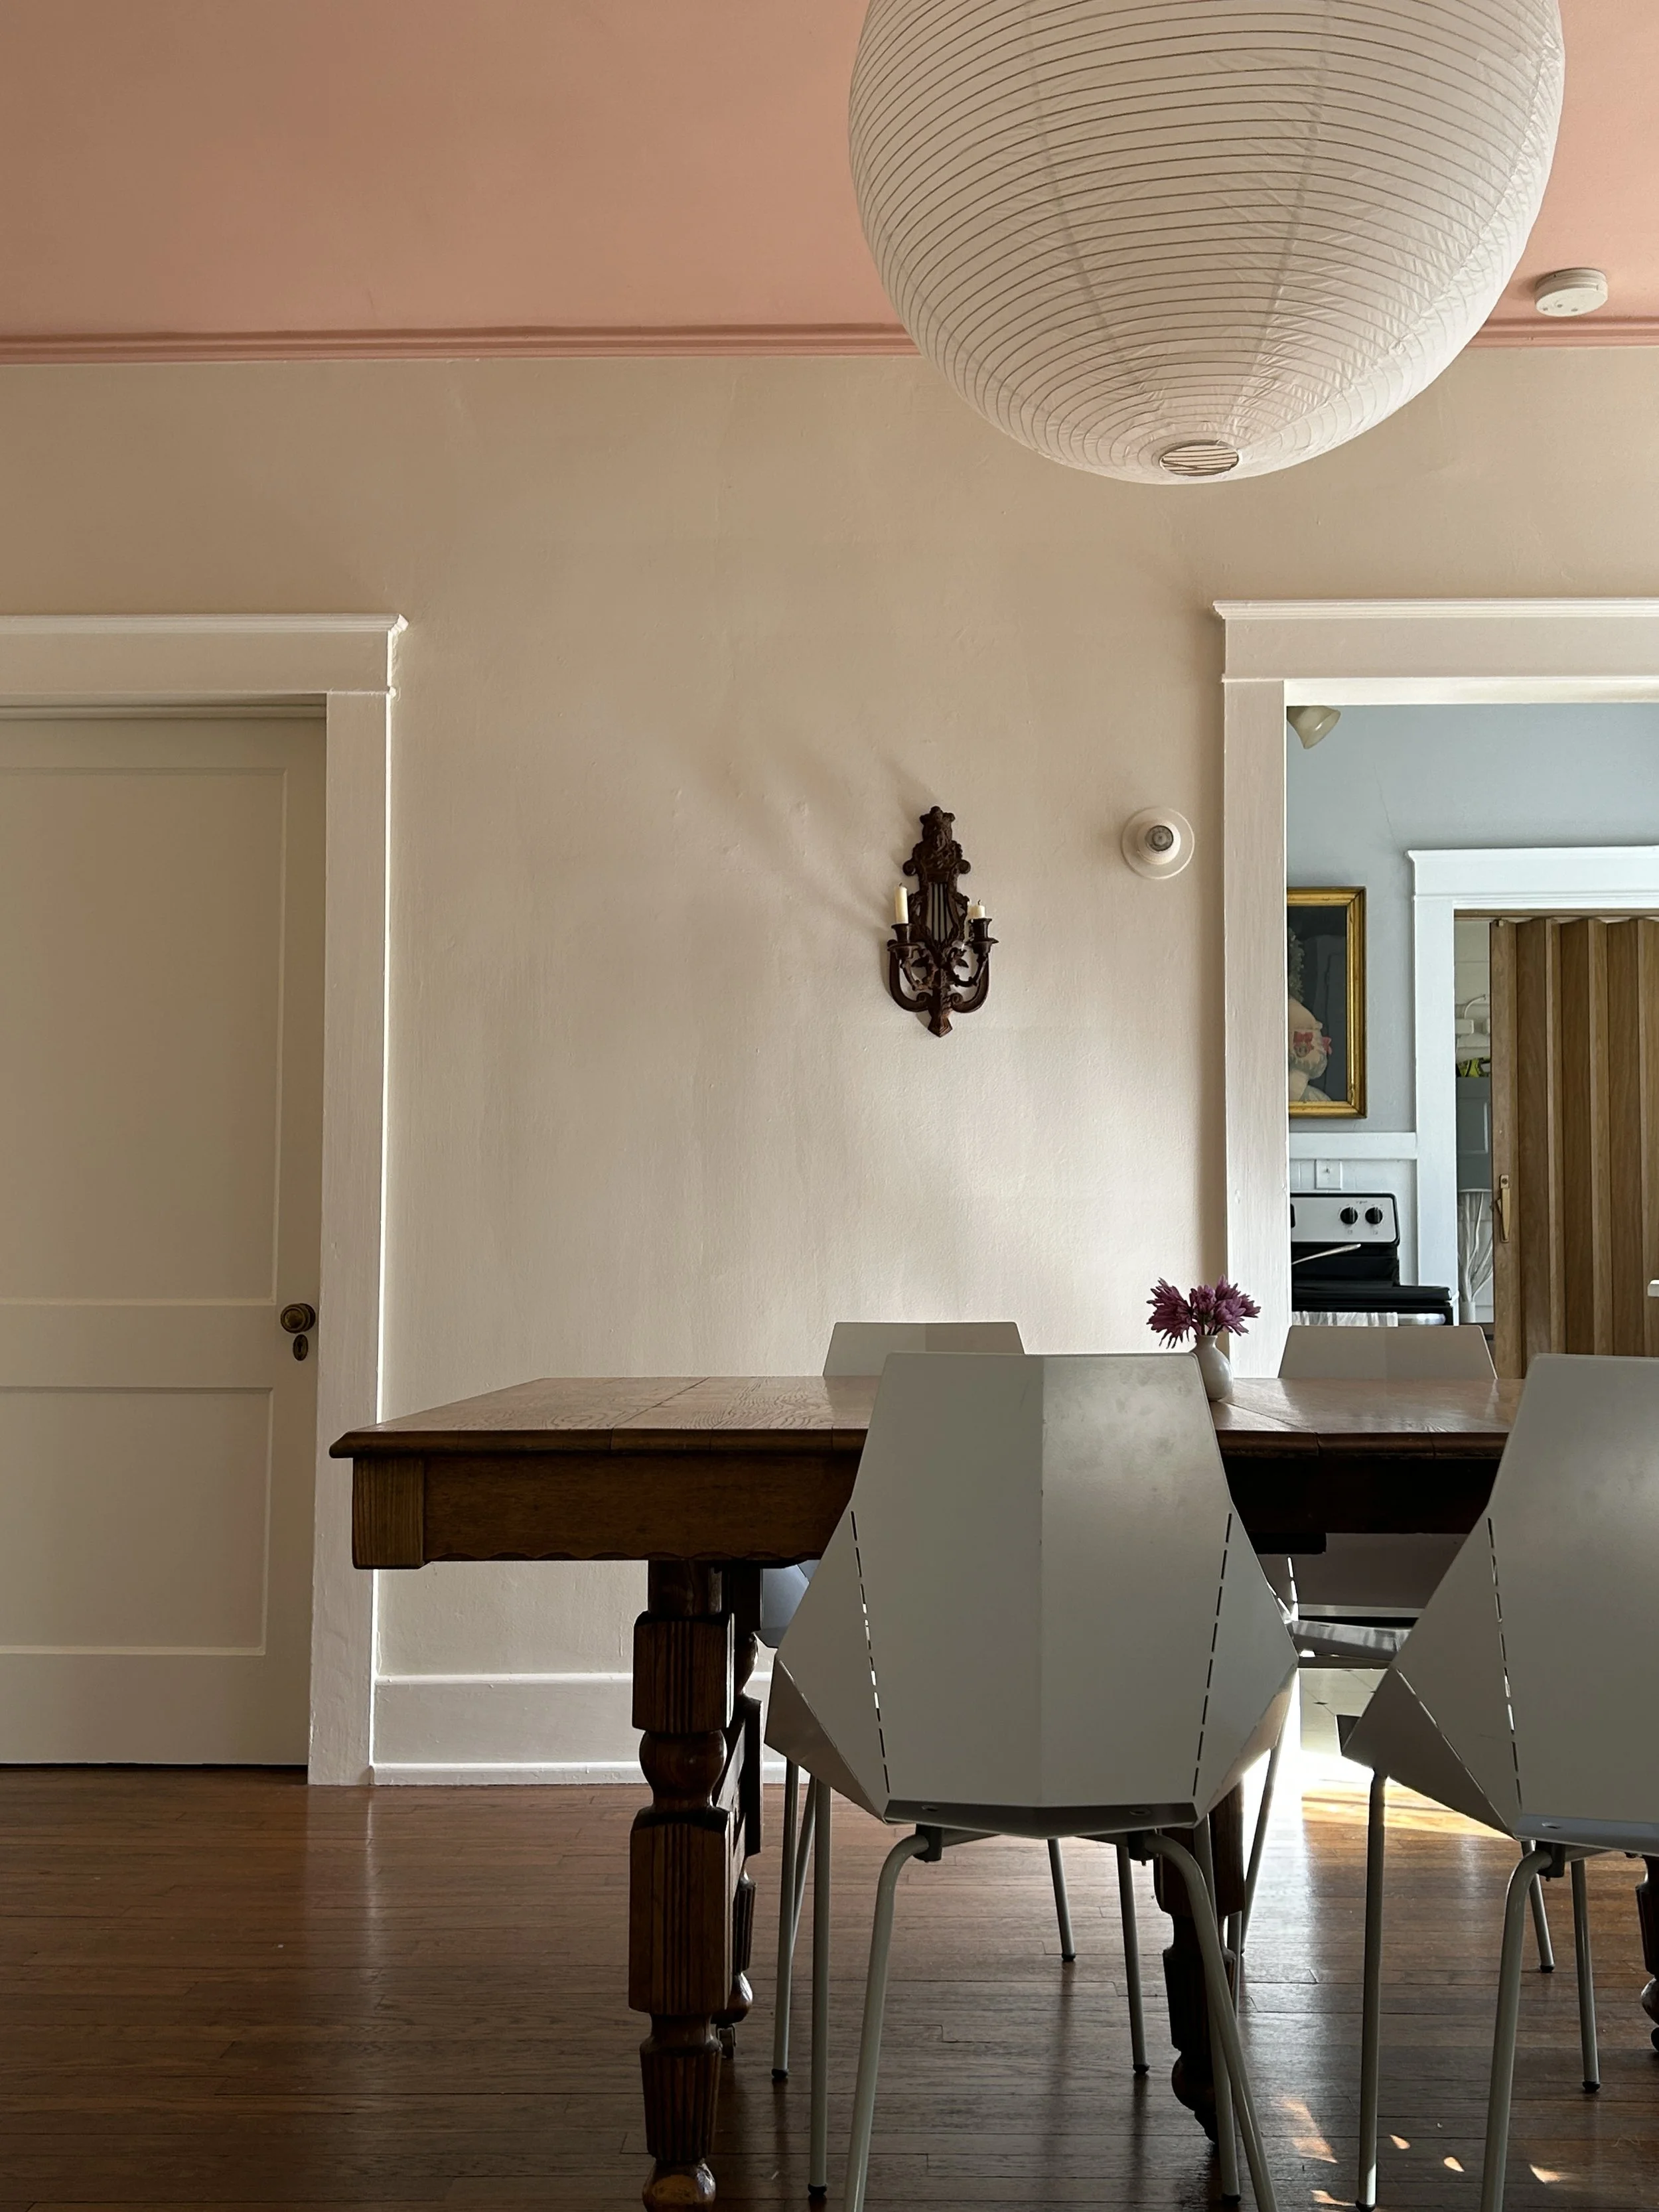
Anyway, I had in my head that I wanted to brighten up the place with a non-white. I chose Benjamin Moore Navajo White for the walls, Mayonnaise for the trim, and Conch for the ceiling. The Conch pinky color seemed kismet since I love shells and it’s complimentary with the green living room.
The first thing we did was replace the ceiling light last November (2022). I believe we did that shortly after moving in. That’s the bare minimum you can do to help make the space feel more like you. Just like the brown paint, every room in the duplex, and I mean every room aside from the bath, had a ceiling fan.
After changing the dining room light fixture to my paper lantern, I scoured the Marketplace for an inexpensive dining table. Both Jason’s and my single-persons tables were too small for the space.
We really lucked out because a family was selling this antique oak banquet table with the sweetest little details for $275. We got it for $200. It comes with 3 leaves but expands to fit 100s more!
We began painting in April 2023.

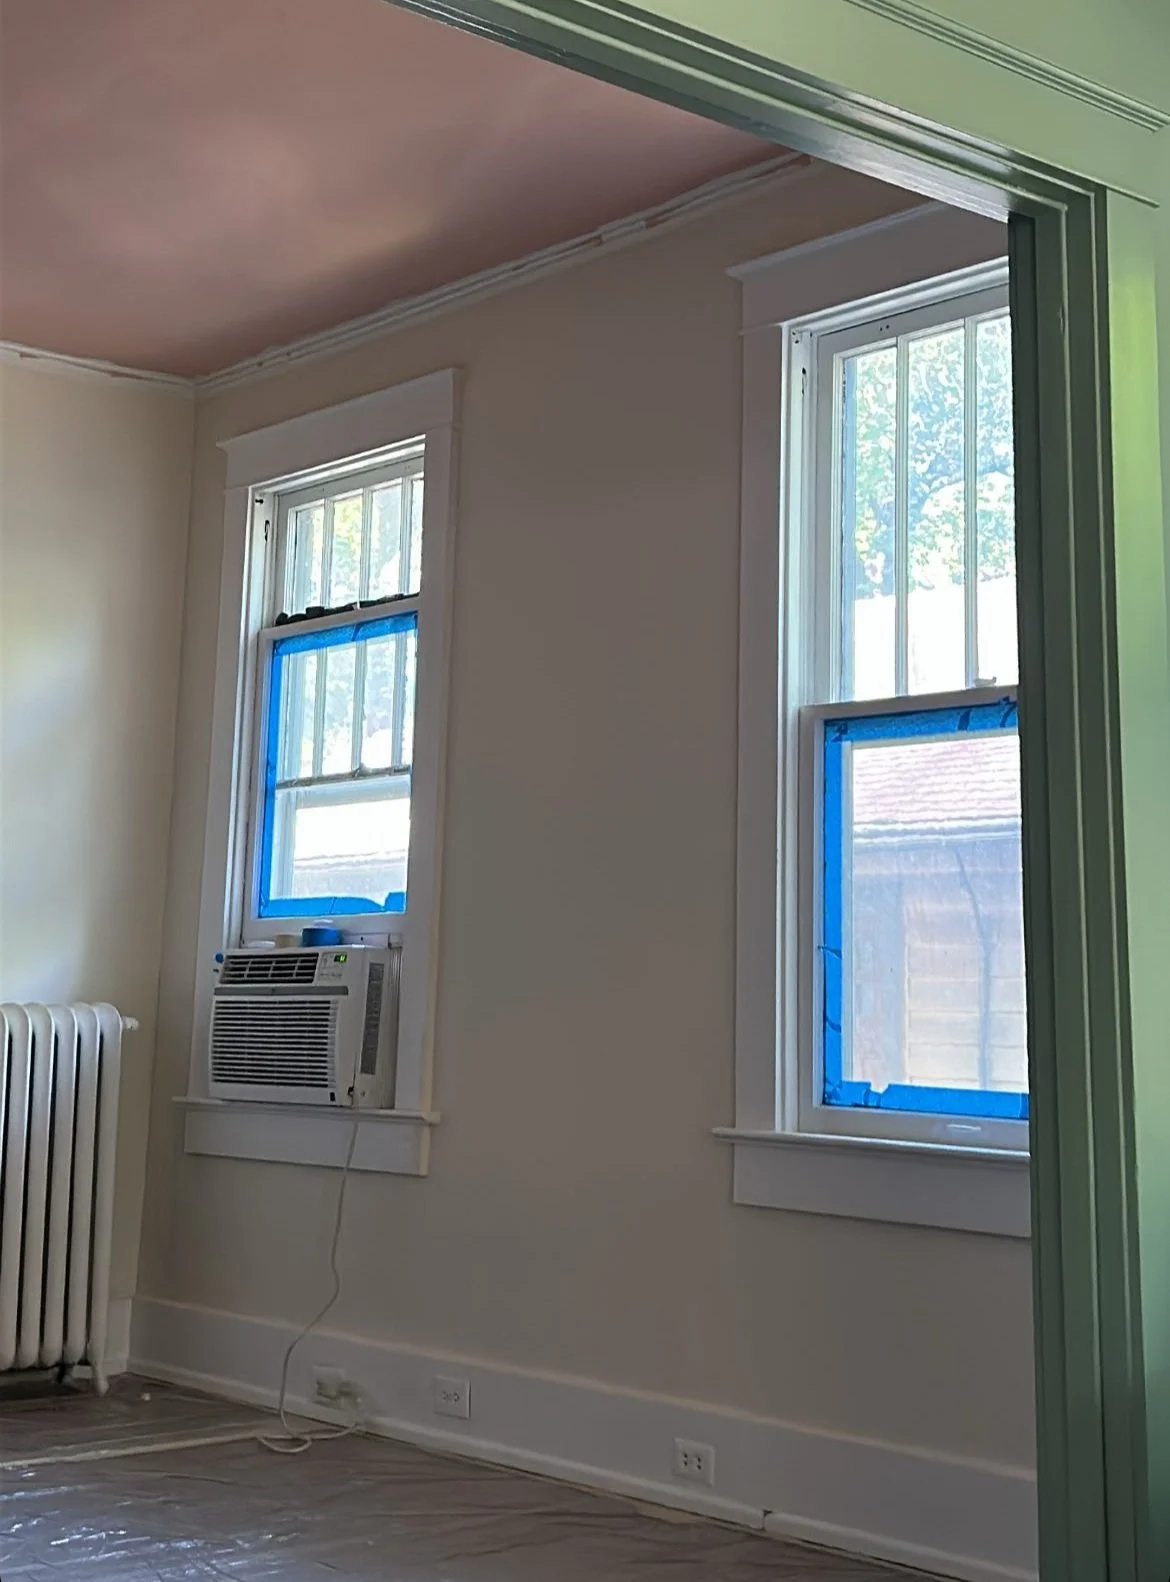
Here you can see the old clunky air conditioner. The house has no central heating. I hate air conditioning window units. They’re are such an eyesore.
I wanted custom drapes but it wasn’t in the budget. I ordered premade pinch pleat faux linen drapes from Amazon and hemmed them myself so they kissed the floor. We chose 1 inch curtain rods and they bothered me the moment they were installed!

We updated the ac unit for a somewhat more visually appealing u shape unit. The u shape allows more window to be exposed therefore more sunlight!

Now that it’s winter, I get to enjoy unit free days! We also updated the switch plates. We really wanted to install vintage push button switches and plates but for now decorative plates will do.
So we switched them out for 3/4” French return rods and they look so much lighter.
Tip: The lighter the fabric, the smaller the rod diameter. Heavy fabrics look better with thicker 1”+ rods.
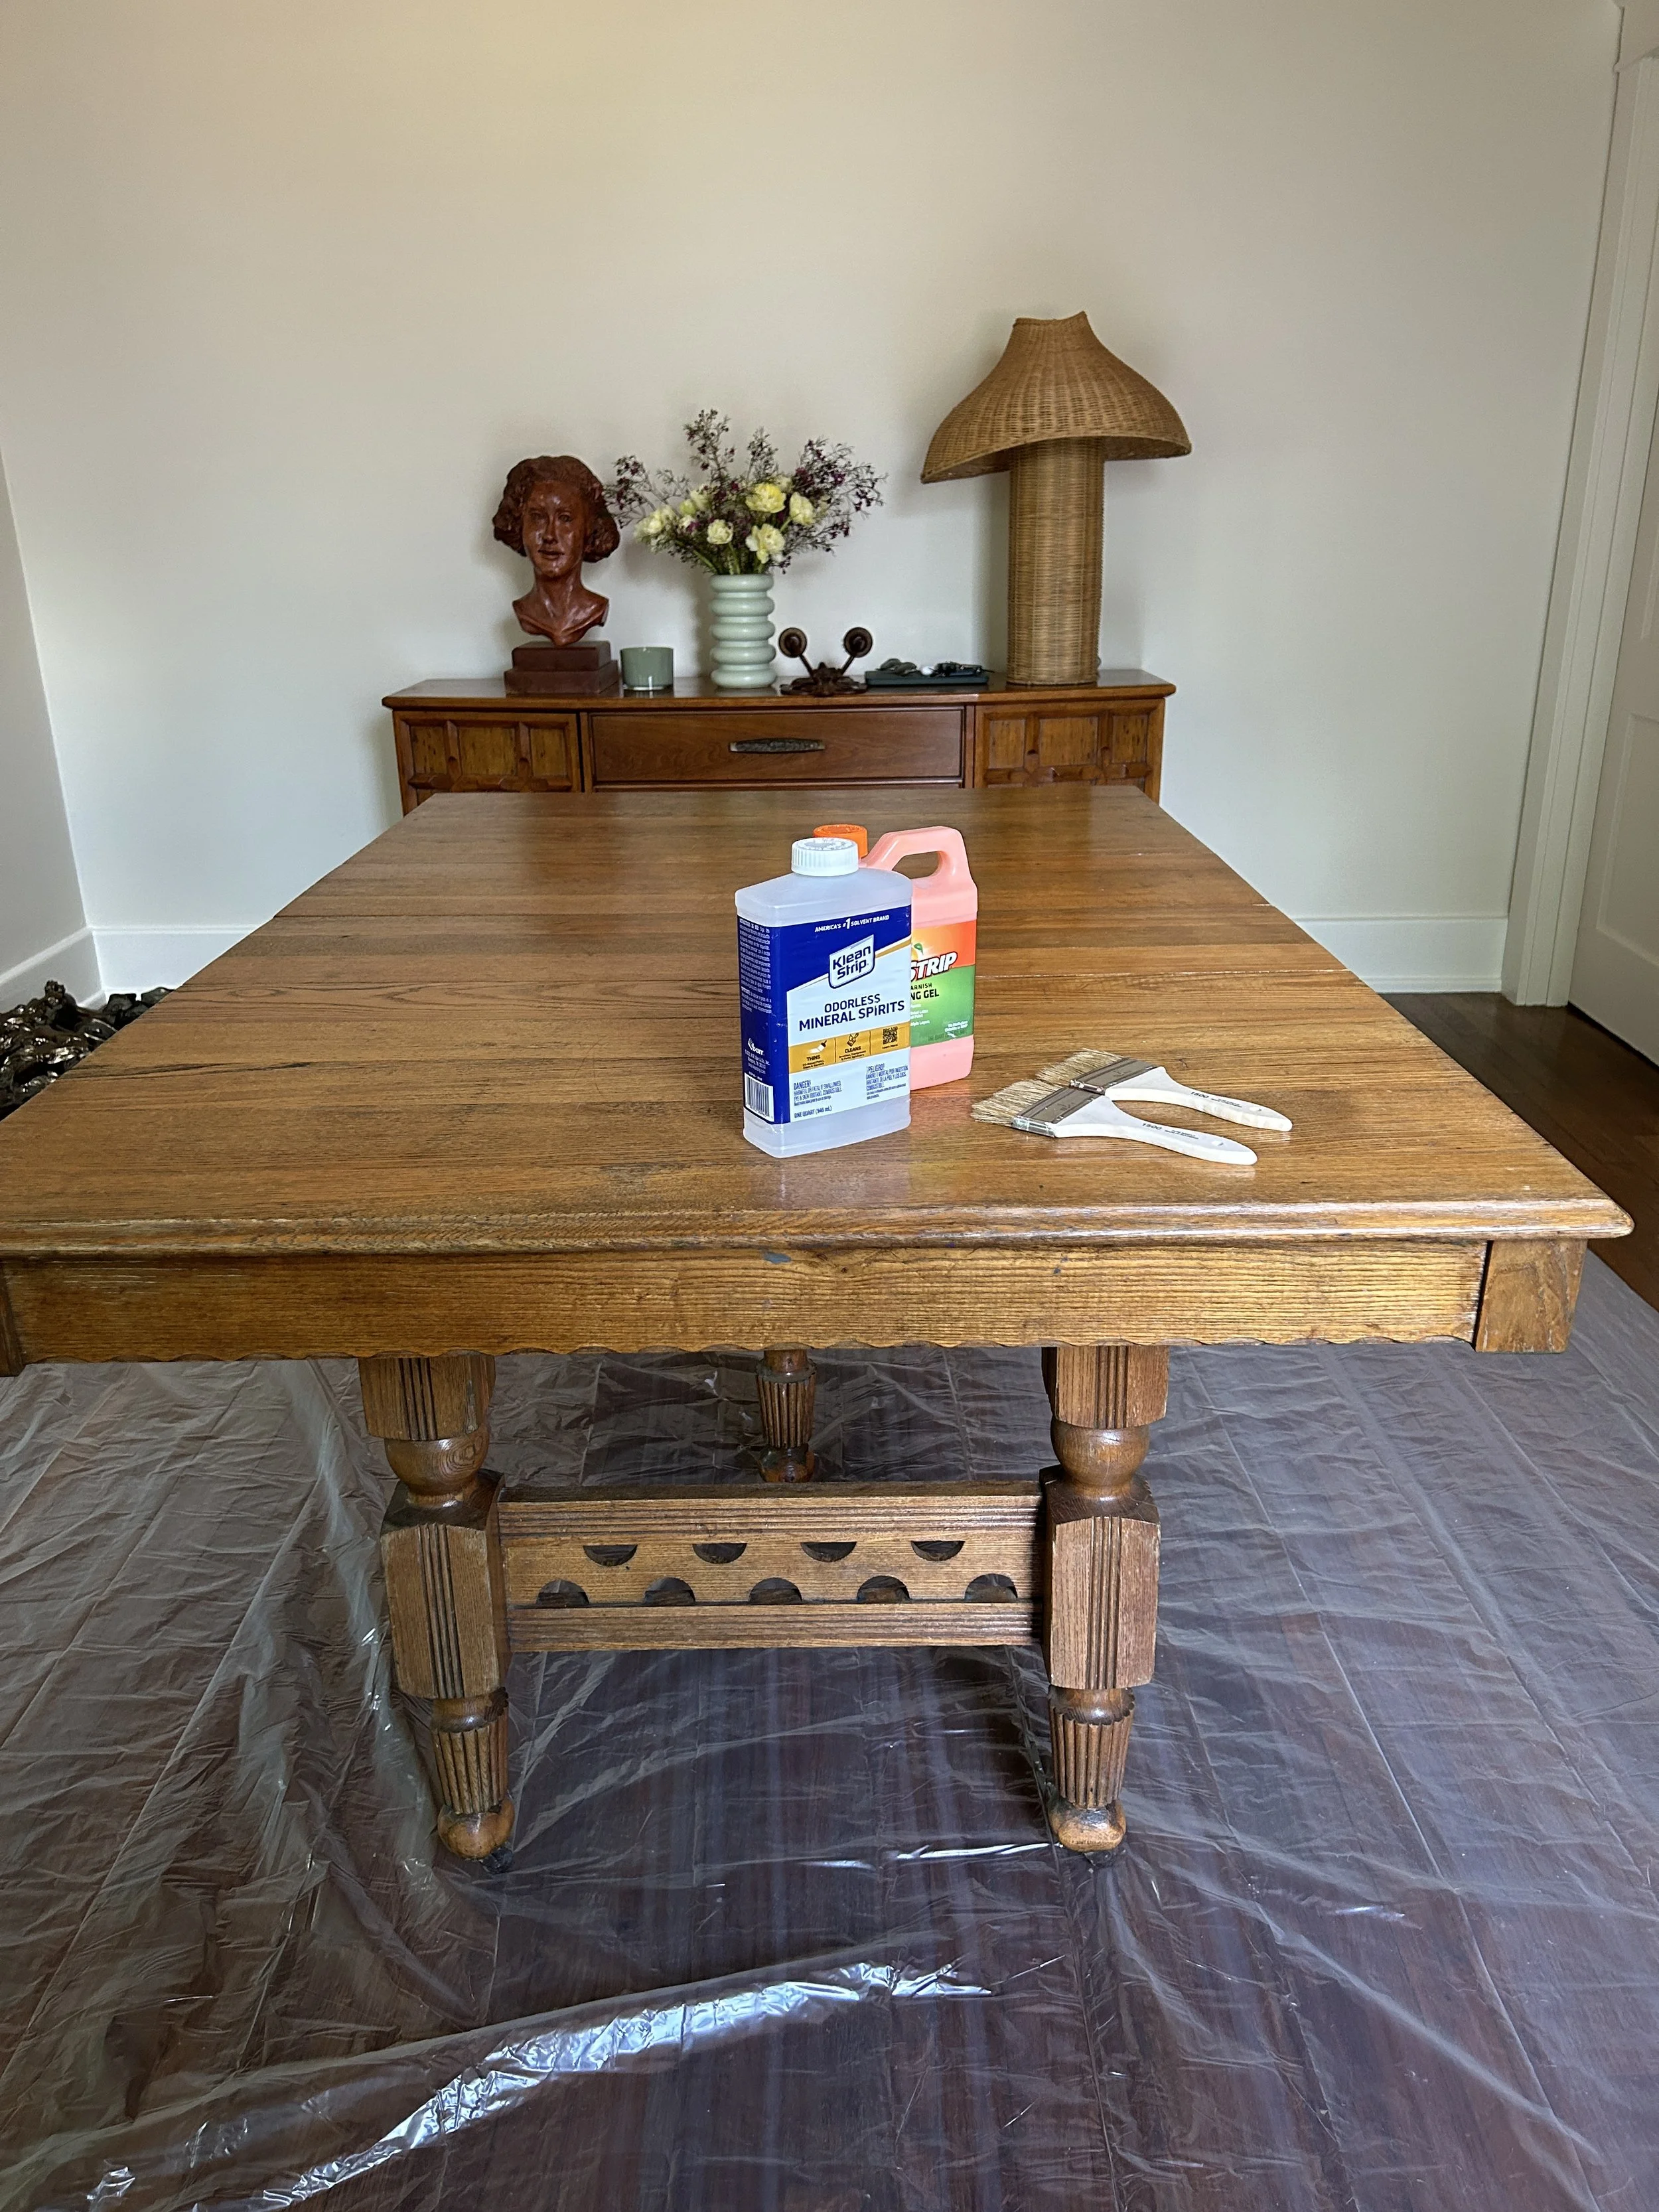
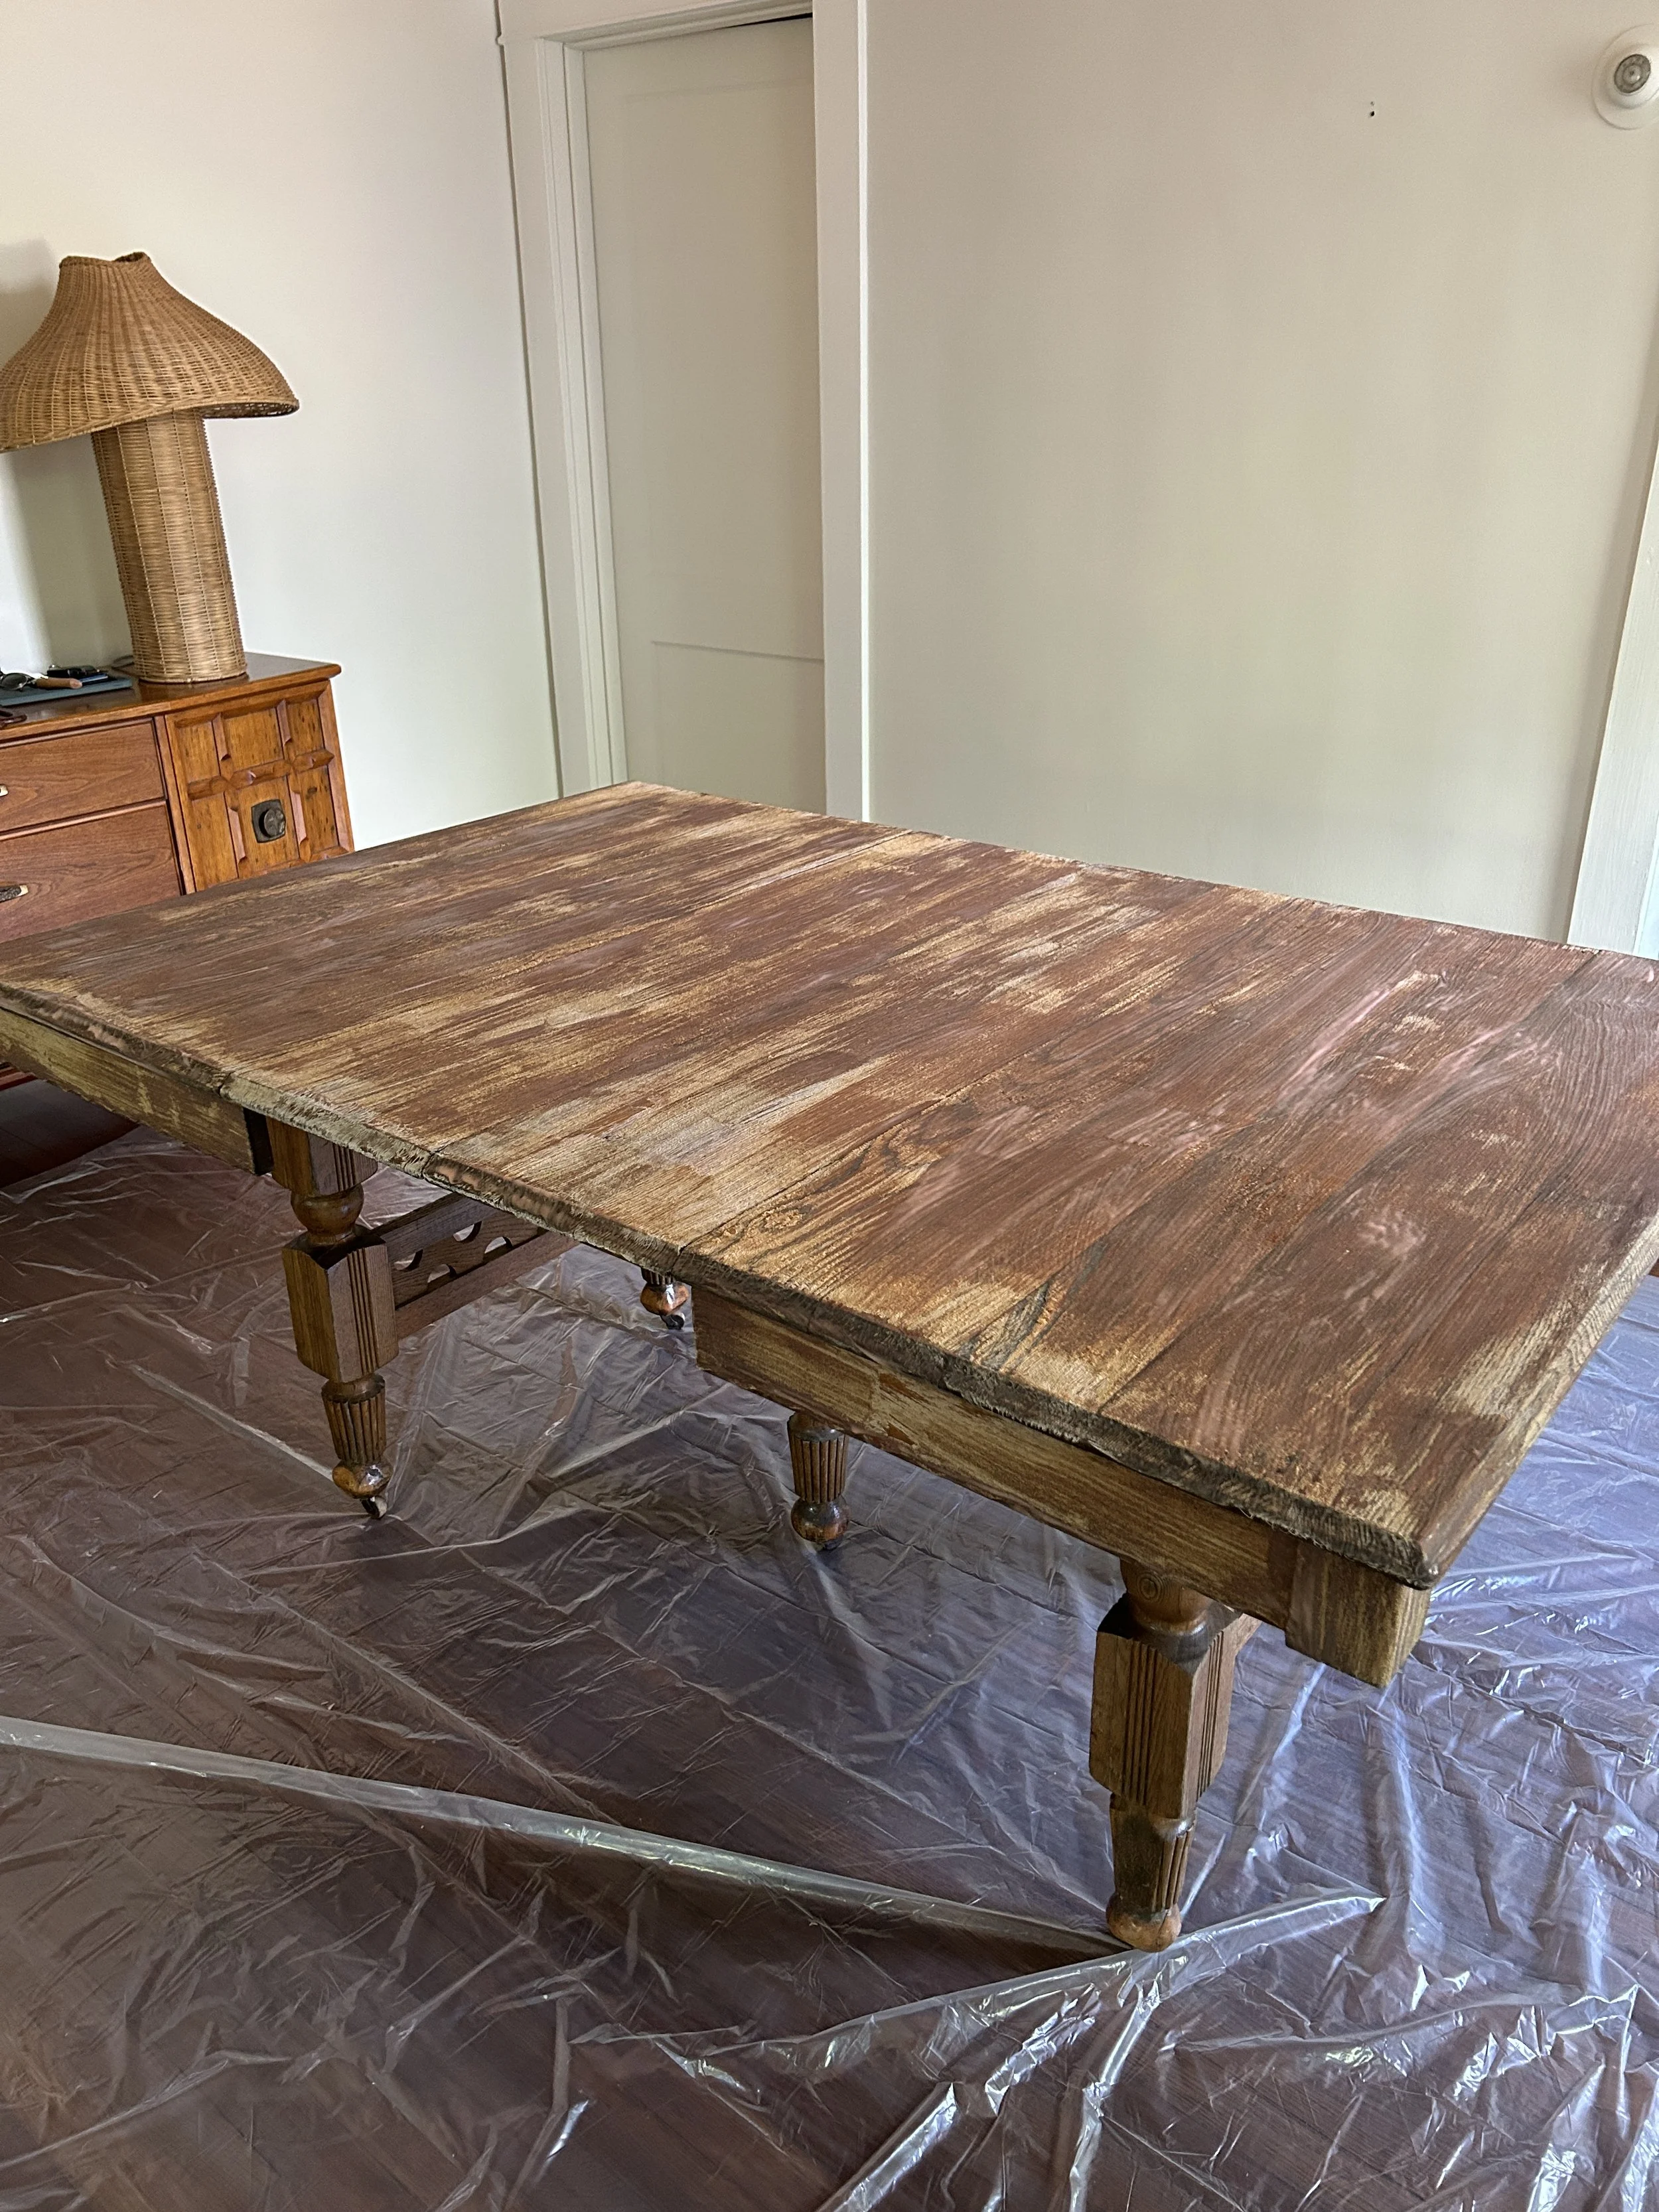
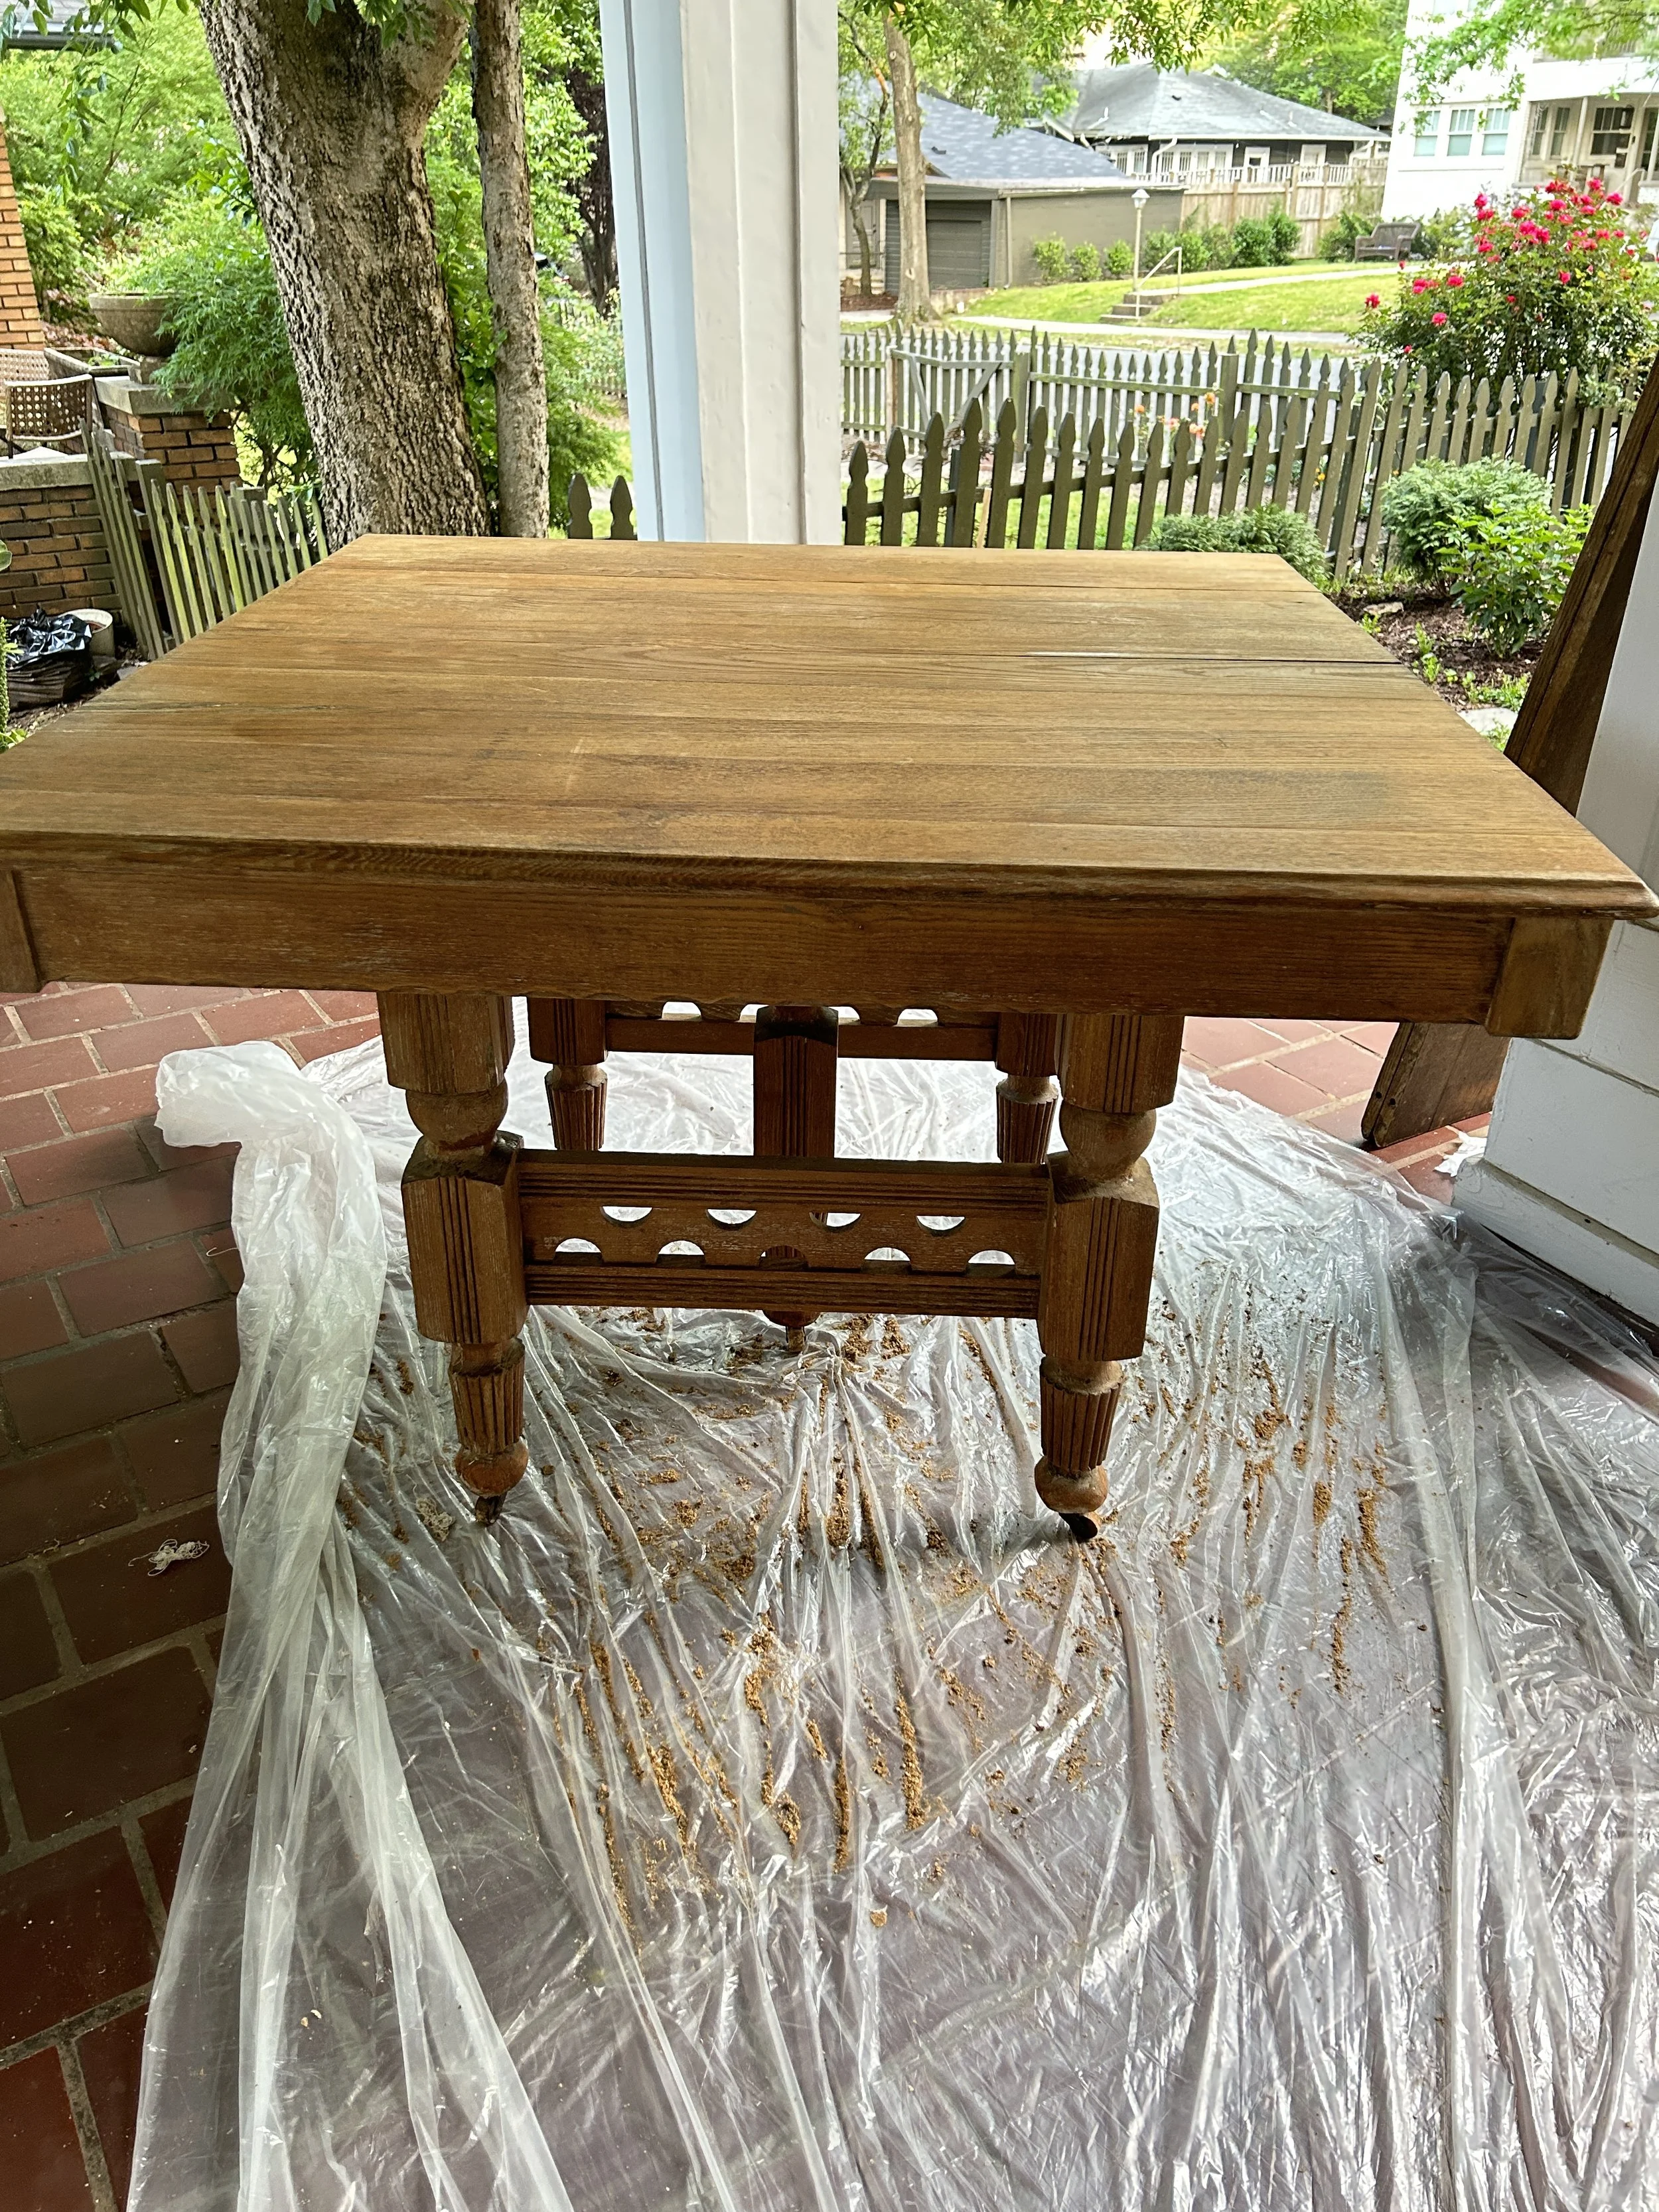
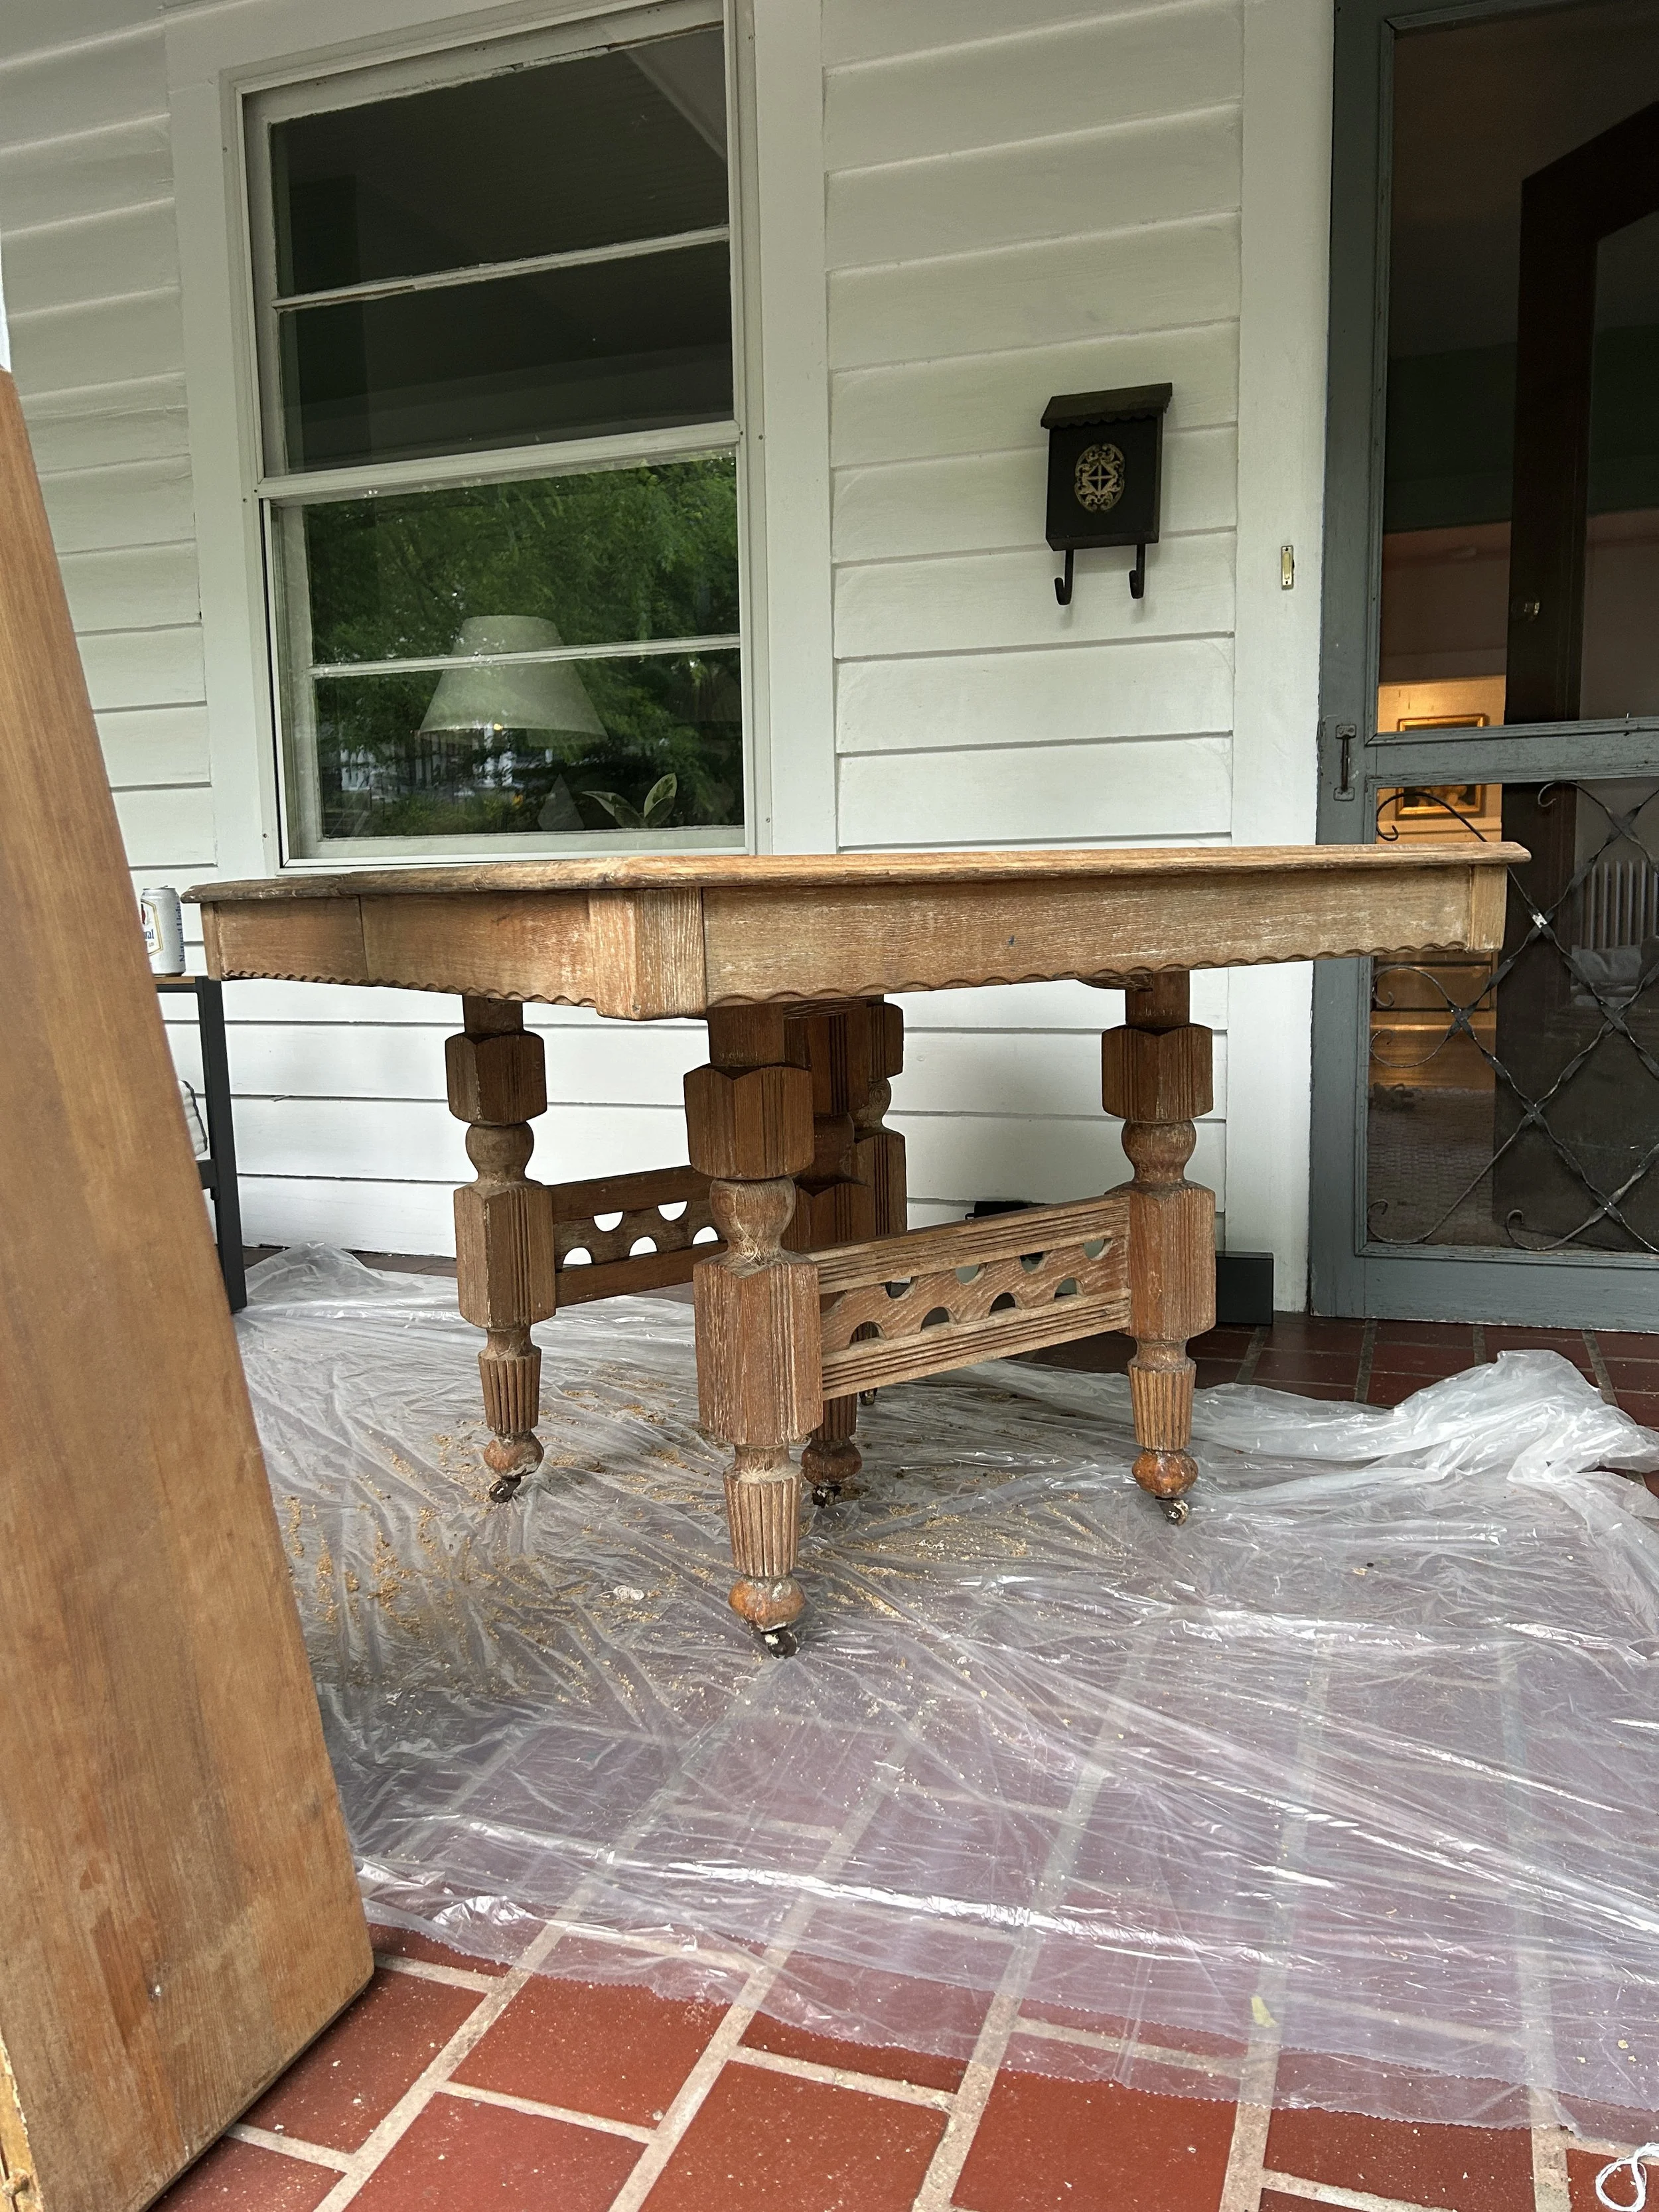
The table came with a really great story! We enlisted a friend to help us pick it up but it didn’t fit in her SUV as planned. The owners (husband and wife) were gracious enough to bring it to us in their truck. When the husband pulled up he asked Jason, “Is that your house!?” It turns out his brother, the original owner of the table, lived in our duplex in the 90s. The table came home. I love that story! I love that we’re adding to the history of the house in our own meaningful way.
Jason refinished the table. I wanted it to look old and well-worn. It was a learning experience, for sure. We are toying with the idea of bleaching the credenza but for us DIY isn’t all that exciting so it’s a back burner project. To strip, we used CitrusStrip. It worked pretty well! VERY messy so be sure to prep your space. The CitrusStrip is cleaned off with mineral spirits. Make sure you’re in a ventilated area! We sanded outside on the front porch with an orbital sander and fine grit sand paper. Starting with 120 and finishing with 240 until smooth and all the old varnish was gone. The table was sealed with clear polyurethane to ensure no yellowing while keeping it as unfinished looking as possible but protected for our dinner spills and daily living.

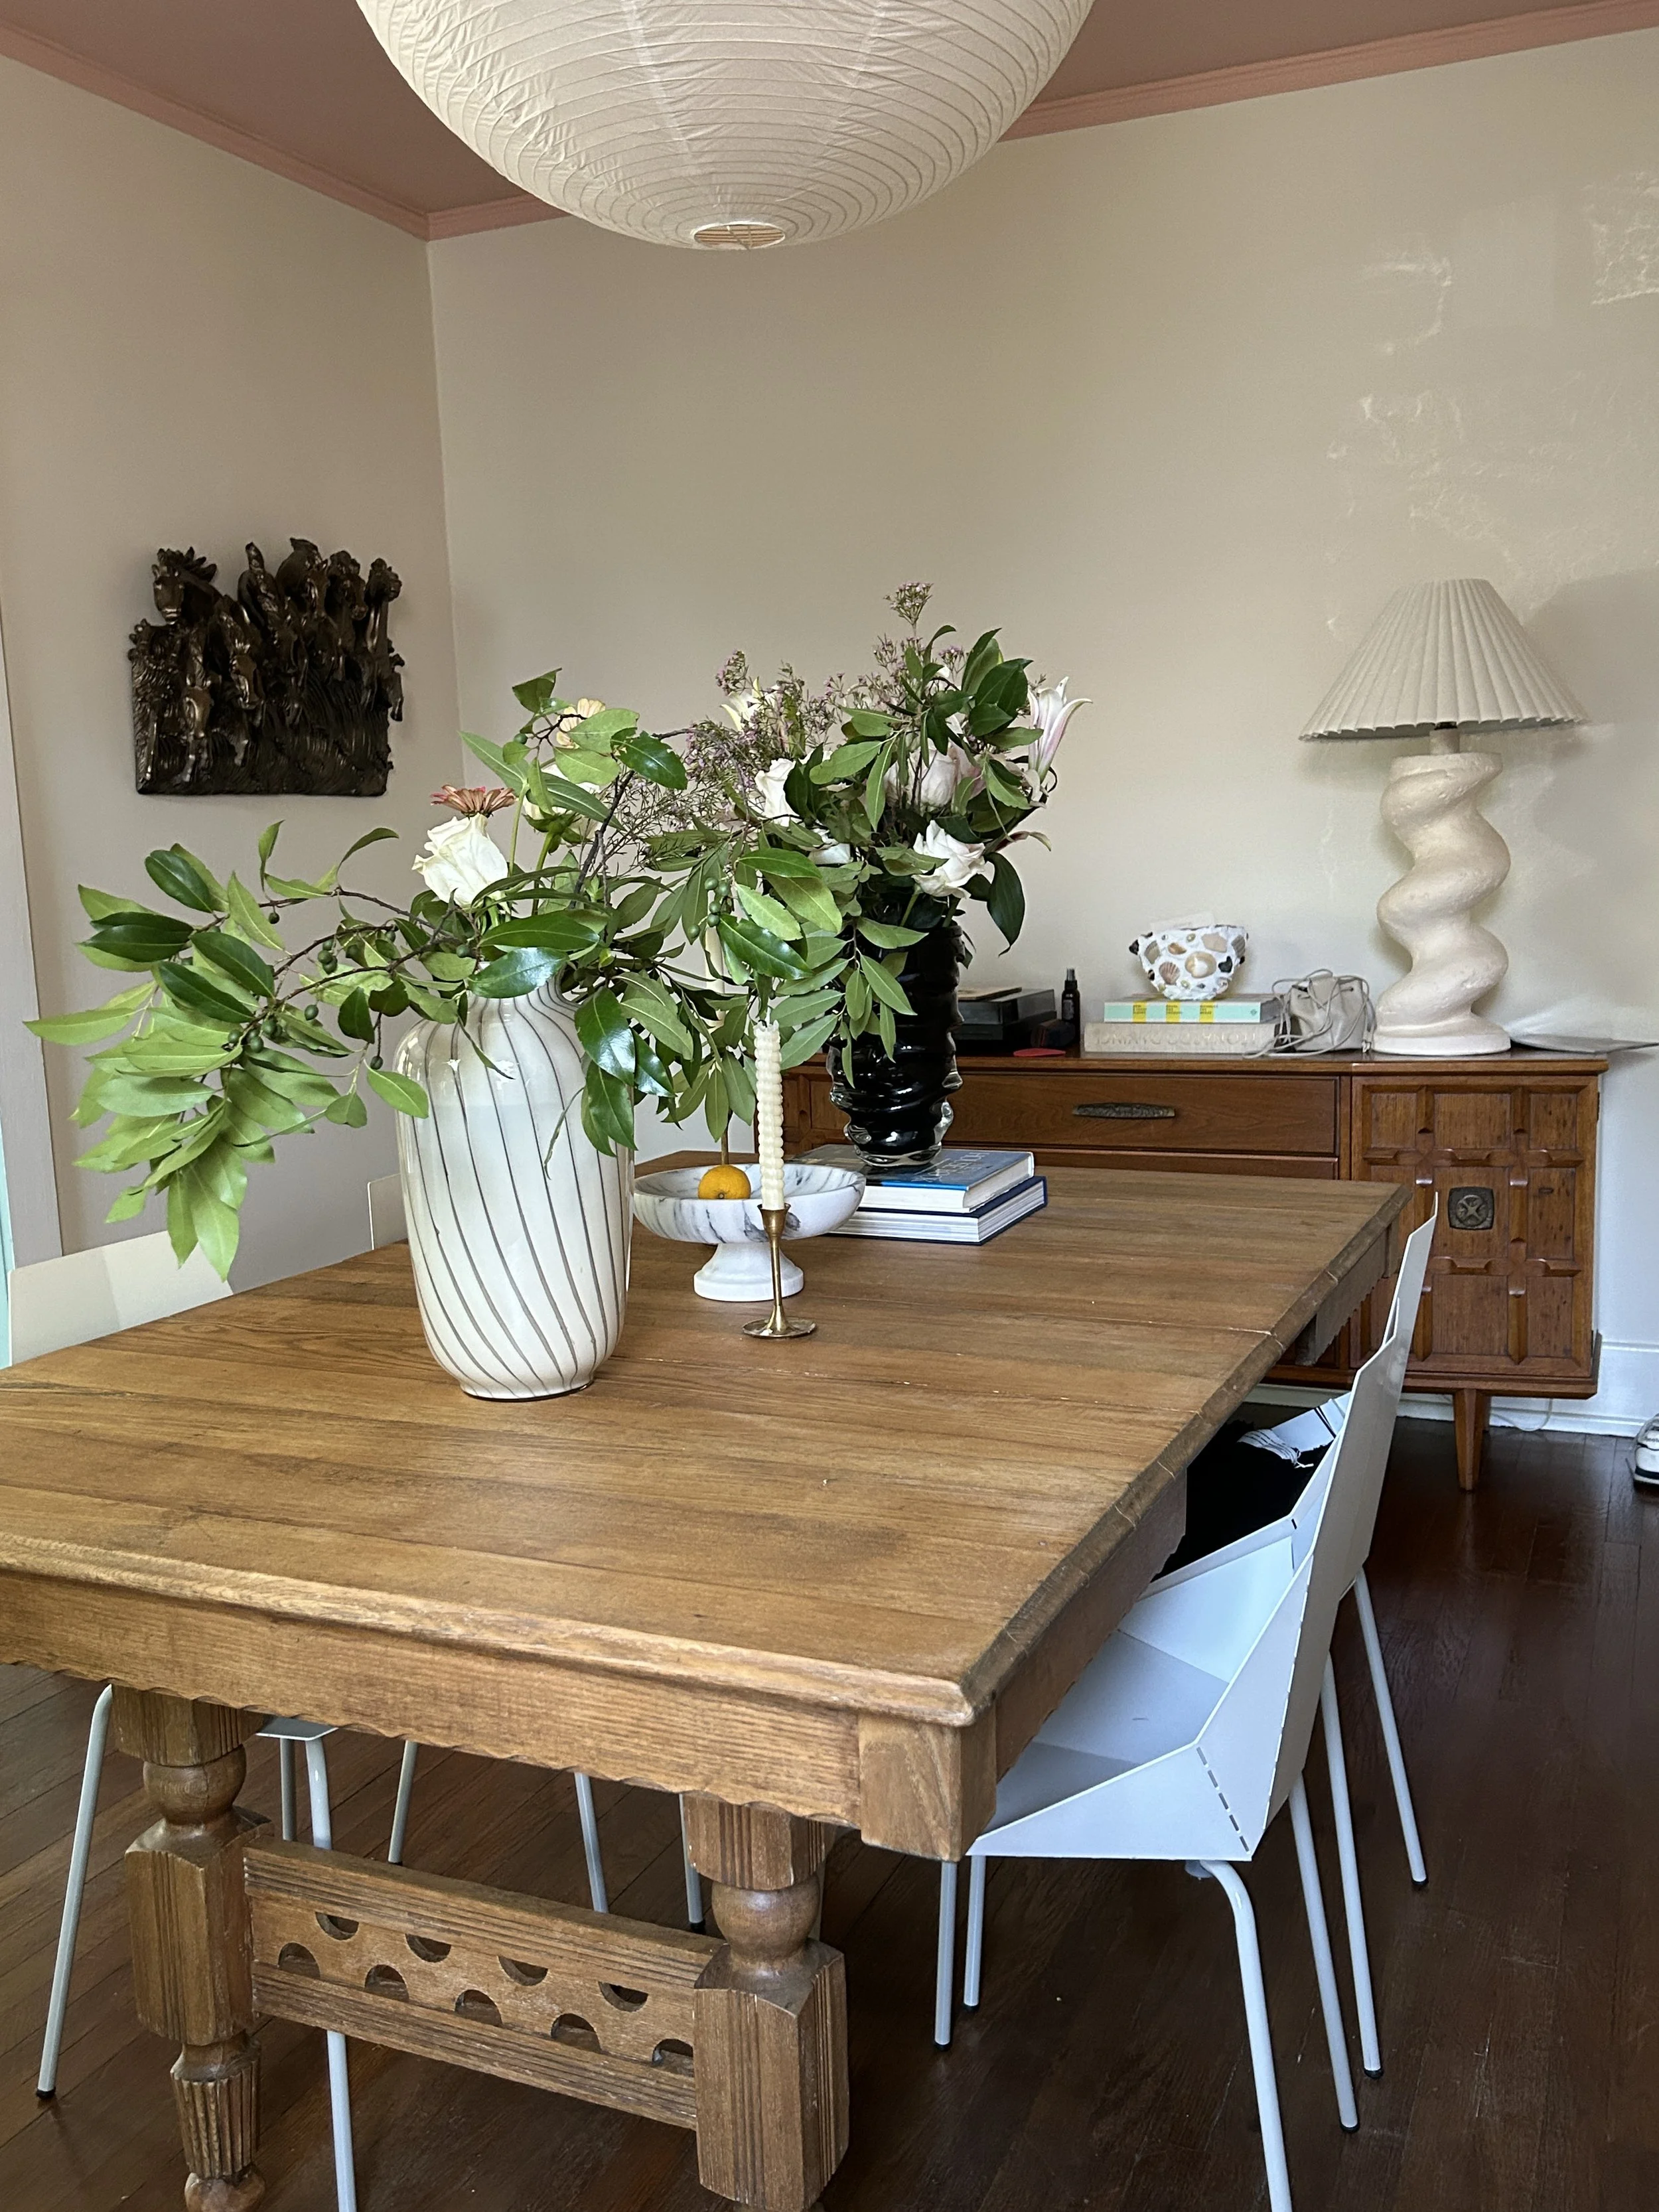
And here we are today! Now that the hard work is done, we can take our time collecting art, finding the right dining chairs, and hosting lots of pasta parties in 2024!
I’ll let you in on a little secret: we are painting the dining room again but this time a deep burgundy to better suit our 70s eclectic style. Designing your space to truly reflect your taste is a slow and steady process. It’s so rewarding to watch your home grow with you throughout the years! <3

Vintage credenza, Michael Taylor style spiral plaster lamp, vintage dining table, Vase, Chairs, Rice Paper Lantern